


Cherry Blossom Mousse Domes have a way of turning a regular afternoon into something special. If you’ve ever stared into your fridge and wished dessert could feel like a tiny celebration, these delicate pink domes are your answer. They look fancy, sure, but they’re not as intimidating as they seem. I’m going to walk you through it like a friend who’s already made the mistakes, so you don’t have to. We’ll fold airy mousse, glaze it shiny, and keep the whole vibe fun and relaxed. Ready to make a treat that gets oohs and ahhs every time? 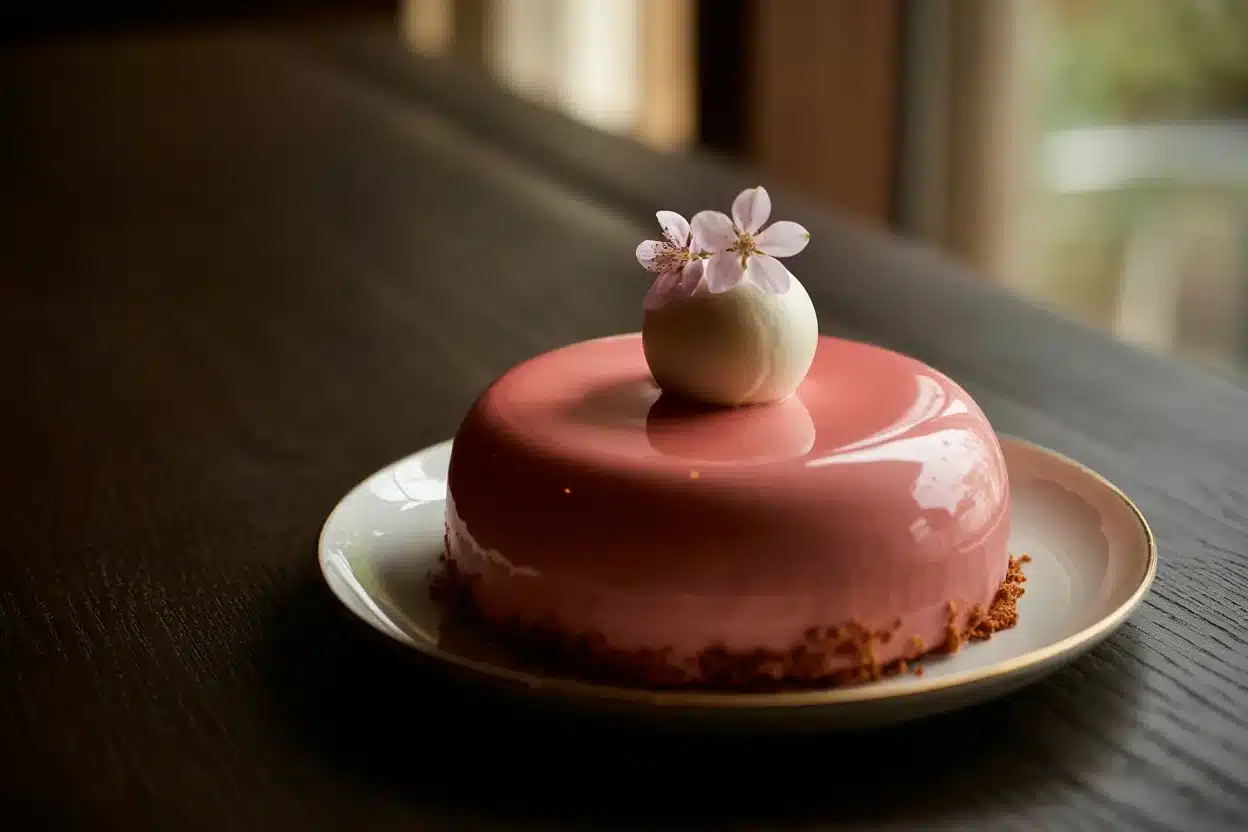
Top Baking Techniques
There are a few core moves that make Cherry Blossom Mousse Domes light, smooth, and glossy. Think of these techniques as your kitchen cheat codes. You don’t need culinary school, just patience, a thermometer, and a whisk. Below are the parts that matter most, plus small tweaks I learned after a few rounds of testing.
Blooming gelatin the easy way
Gelatin helps the mousse set without turning rubbery. Sprinkle powdered gelatin over cold water and let it sit until it looks spongy. That’s blooming. Warm it gently until it turns clear, then let it cool to lukewarm before it meets your mousse base. If it’s piping hot, it can melt the whipped cream and your airy texture will fall flat. If it’s cold and clumpy, you’ll get weird chewy bits. Aim for smooth and barely warm.
Folding whipped cream without deflating
Whip your cream to soft peaks so it feels like clouds that hold their shape. When folding, use a big bowl and a flexible spatula. Cut through the middle, sweep around the side, and rotate the bowl. Repeat. If streaks remain, that’s okay at first. They’ll vanish as you fold. Overmixing will knock out the air and the mousse won’t feel delicate. Keep it gentle and stop as soon as it’s blended.
Getting that shiny pink glaze
The mirror glaze is what makes these domes look bakery-made. Use white chocolate, a little gelatin, and milk to create a smooth base, then tint it a soft pink. Temperature is everything. The glaze should hit the sweet spot around warm-to-the-touch. Too hot and it runs, too cool and it globs. Pour in one steady pass and resist touching it afterward. One more pass won’t fix streaks, it’ll just drag the glaze.
If you’re new to mousse, it might help to look at another style for reference. I use a lot of the same light folding and chilling ideas in these chocolate coffee mousse trifles. You’ll see how small temperature changes and timing create that creamy lift we all love.
For flavor, I go with a cherry puree and a tiny drop of almond extract to echo the blossom vibe. If you have access to food-safe cherry blossom essence, lovely, but almond plus cherry gets you very close. Balance is key. Too much almond and the mousse tastes fake. A little brings gentle floral notes that make the cherry sing.

Common Mistakes to Avoid in Baking
Even seasoned home bakers trip over these, so let’s call them out upfront and save you a batch.
Chill time is not negotiable
When making Cherry Blossom Mousse Domes, you need a full chill for the mousse to set. If you try to glaze soft domes, they’ll wobble and sag. Pop the filled molds into the freezer until firm and frosty. The glaze sets beautifully on cold surfaces, giving you that smooth finish.
Another easy pitfall is watery fruit puree. If your cherries are super juicy, simmer the puree for a couple of minutes to thicken it slightly, then cool before mixing. Thin puree can loosen the mousse and throw off the texture. Also watch your whipped cream. Overwhipped cream turns grainy, which makes the mousse feel heavy. Soft peaks are your friend.
Finally, never glaze over crumbs or condensation. Set the domes on a wire rack and wipe away drips quickly. If your kitchen is very humid, keep the work area cool and move with purpose. A clean base and steady pour are half the battle.
I thought these would be complicated, but the steps were super clear. I froze my domes overnight and the glaze went on like a dream. My family asked where I bought them, which is the best compliment.
Essential Baking Tools and Equipment
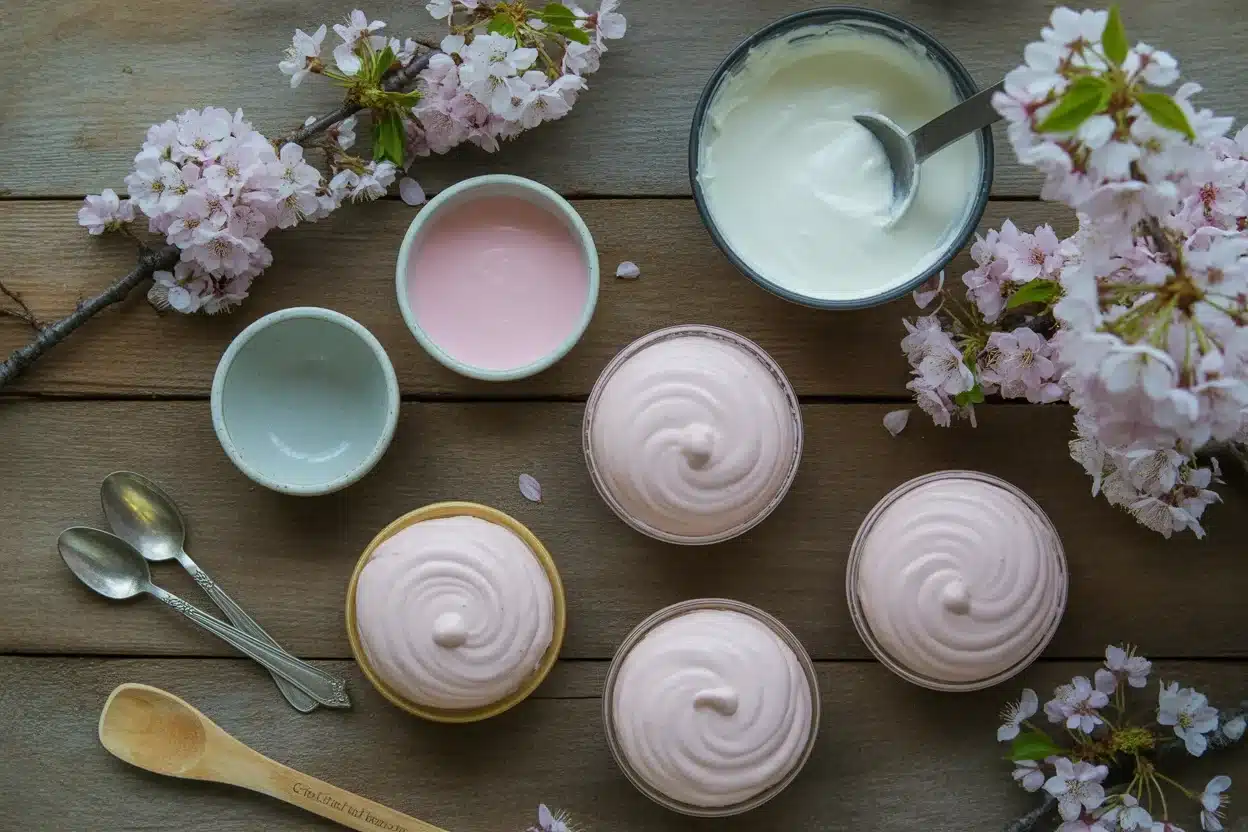
Good tools do a lot of the heavy lifting, especially for neat shapes and that picture-perfect glaze. Here’s what I actually use and why it helps.
- Silicone dome molds: Flexible molds make unmolding easy and keep edges clean.
- Digital thermometer: Crucial for checking glaze temperature and melted chocolate.
- Kitchen scale: Accurate measurements keep the texture consistent.
- Offset spatula: Great for smoothing mousse and lifting domes.
- Fine mesh sieve: Strain cherry puree and glaze to keep everything silky.
- Hand mixer or stand mixer: For whipping cream to soft peaks, fast.
- Wire rack and sheet pan: Set domes on the rack and catch glaze drips on the pan.
- Parchment or silicone mat: Keeps messes in check and makes cleanup faster.
No dome molds? You can use silicone muffin cups as a starter. The shape is a bit different, but the result is still lovely. And if you’re building a small dessert toolkit you’ll use often, these same items help with other sweet projects like cherry hand pies where the sieve and scale keep fillings consistent and crusts reliable.
Tips for Perfecting Your Recipes
Want your Cherry Blossom Mousse Domes to taste like a patisserie treat made at home? These small habits add up to a big difference.
- Use cold cream for better whipping. Warm cream struggles to hold air.
- Stabilize with care: Bloom gelatin fully and cool it slightly before adding in.
- Go light on extracts: Almond can overpower. Start with a drop and taste.
- Chill in layers: If adding a cherry gelée center, freeze it first, then wrap in mousse.
- Glaze at the right temp: Warm to pourable but not hot. Test a spoonful on the side.
- Work in batches: Keep extra domes in the freezer so they glaze cleanly.
- Garnish smart: A tiny blossom, a cherry half, or a pinch of white chocolate curls looks beautiful.
- Pair it: Serve with lightly sweet sips like this refreshing cherry iced tea.
For flavor swaps, raspberry or strawberry work with the same steps. If you want a similar light texture with a different fruit, you might like these no bake raspberry mousse cups for a quick practice round. The folding and chilling rhythm is nearly identical.
Understanding Different Types of Flour
You might wonder where flour fits into a mousse dessert. While the mousse itself is flourless, many people set their Cherry Blossom Mousse Domes on a thin sponge layer or a crisp cookie base. That’s where flour choices matter. Cake flour makes a soft, springy sponge that doesn’t get tough when chilled. All purpose flour works fine too, but go easy on mixing so the cake stays tender.
If you prefer a crunchy base, try a sablé or shortbread round. All purpose flour offers structure, while a touch of almond flour brings a toasty richness that balances the bright cherry. If gluten is a concern, you can swap in a gluten free blend for both sponge and cookie bases. Just keep the layer thin so it doesn’t overwhelm the mousse. The star should still be that silky cherry center with its soft blossom notes.
Another option is a chocolate biscuit base. Cocoa adds a nice contrast, and the bitterness plays well with the sweet cherry. Adjust sugar slightly so the base doesn’t steal the spotlight. You’re aiming for a quiet crunch under a cloud of mousse, not a cookie that competes.
Common Questions
Can I make Cherry Blossom Mousse Domes without gelatin?
You can use agar, but it sets firmer and can feel more brittle. If you try it, use a small amount and test a half batch first.
How long do the domes need to freeze before glazing?
Aim for at least 3 to 4 hours, or overnight if you can. They should feel solid all the way through so the glaze sets fast.
Do I need silicone molds, or can I use metal?
Silicone is best because it releases easily. Metal can work if you line it with plastic wrap, but you won’t get edges as clean.
How do I store leftovers?
Refrigerate for up to 2 days, covered. For longer storage, freeze the unglazed domes up to a month and glaze the day you serve.
Can I add a boozy touch?
A splash of cherry liqueur works, but keep it light so the mousse sets correctly. Mix it into the puree after it cools.
Let’s Wrap It Up Sweetly
There’s a quiet joy in making Cherry Blossom Mousse Domes at home. The steps are simple when you break them down, and the result feels like a tiny gift on a plate. With a little patience and a few smart tools, you’ll pull off a glossy finish and a melt in your mouth center. Save this guide, grab your molds, and treat yourself to a batch that tastes as pretty as it looks. When you’re ready for more sweet fun, try something playful like my cherry themed bites or go bold with chocolate and coffee notes on your next round.
Print
Cherry Blossom Mousse Domes
- Total Time: 360 minutes
- Yield: 6 servings 1x
- Diet: Vegetarian
Description
Delicate pink mousse domes infused with cherry puree and almond extract, topped with a glossy pink glaze.
Ingredients
- 1 cup cherry puree
- 2 teaspoons powdered gelatin
- 2 cups heavy cream
- 1/4 teaspoon almond extract
- 1/2 cup white chocolate
- 1/4 cup milk
- 1/4 cup water (for blooming gelatin)
Instructions
- Bloom gelatin by sprinkling it over cold water and letting it sit until spongy. Warm gently until clear, then let it cool.
- Whip heavy cream to soft peaks.
- Gently fold the whipped cream into the cherry puree and almond extract mixture.
- Pour the mousse into silicone dome molds and freeze for at least 3-4 hours or overnight.
- To prepare the glaze, melt white chocolate, milk, and bloomed gelatin together until smooth and warm.
- Tint the glaze with a soft pink color.
- Remove the domes from the molds and place them on a wire rack.
- Pour the warm glaze over each dome in one steady motion.
- Allow the glaze to set before serving.
Notes
Ensure the mousse is fully frozen before glazing. Avoid glazing over crumbs or condensation for a smooth finish.
- Prep Time: 30 minutes
- Cook Time: 15 minutes
- Category: Dessert
- Method: Chilling and Glazing
- Cuisine: French
Nutrition
- Serving Size: 1 dome
- Calories: 250
- Sugar: 18g
- Sodium: 50mg
- Fat: 15g
- Saturated Fat: 10g
- Unsaturated Fat: 3g
- Trans Fat: 0g
- Carbohydrates: 23g
- Fiber: 1g
- Protein: 3g
- Cholesterol: 40mg


